If you’re looking to bring a creative twist to your photography, the Pep Ventosa technique is an incredible way to transform ordinary scenes into stunning, impressionistic art. Whether you’re an experienced photographer or just someone eager to experiment with your camera, this guide will walk you through the steps of creating a multiple-exposure image using this unique method.
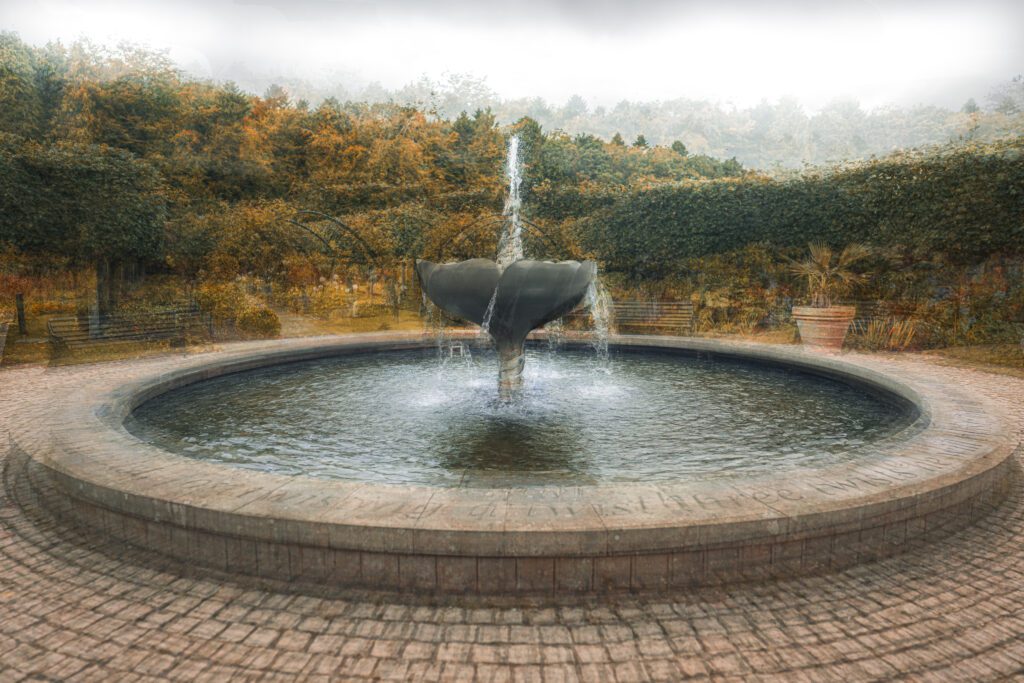
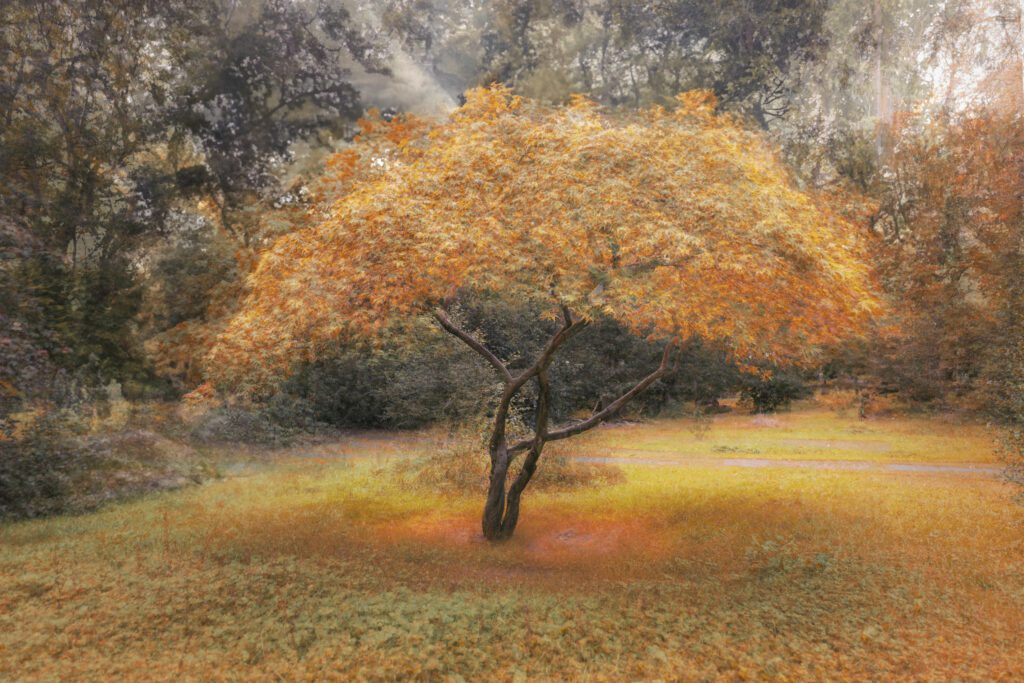
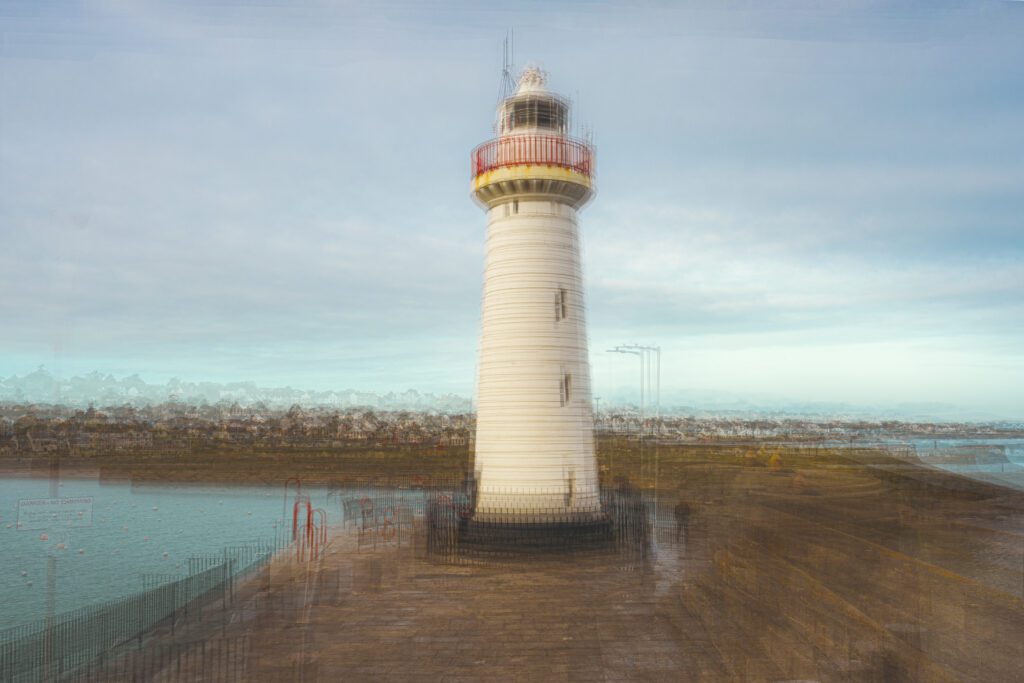
At The Shot NI, we love to push creative boundaries with our photography. Today, we will show you how to achieve the Pep Ventosa effect, using our own photos as an example.
What is the Pep Ventosa Technique?
Pep Ventosa, a Spanish photographer, developed a unique technique where multiple exposures of a subject are layered together to create an abstract, painterly look. Instead of capturing the subject in a single shot, you take multiple photos from different angles, focusing on the same central subject. When blended together, these images produce a soft, ethereal effect that feels like a visual journey around the subject.
Step-by-Step Guide to Creating a Multiple-Exposure Image
Choose Your Subject
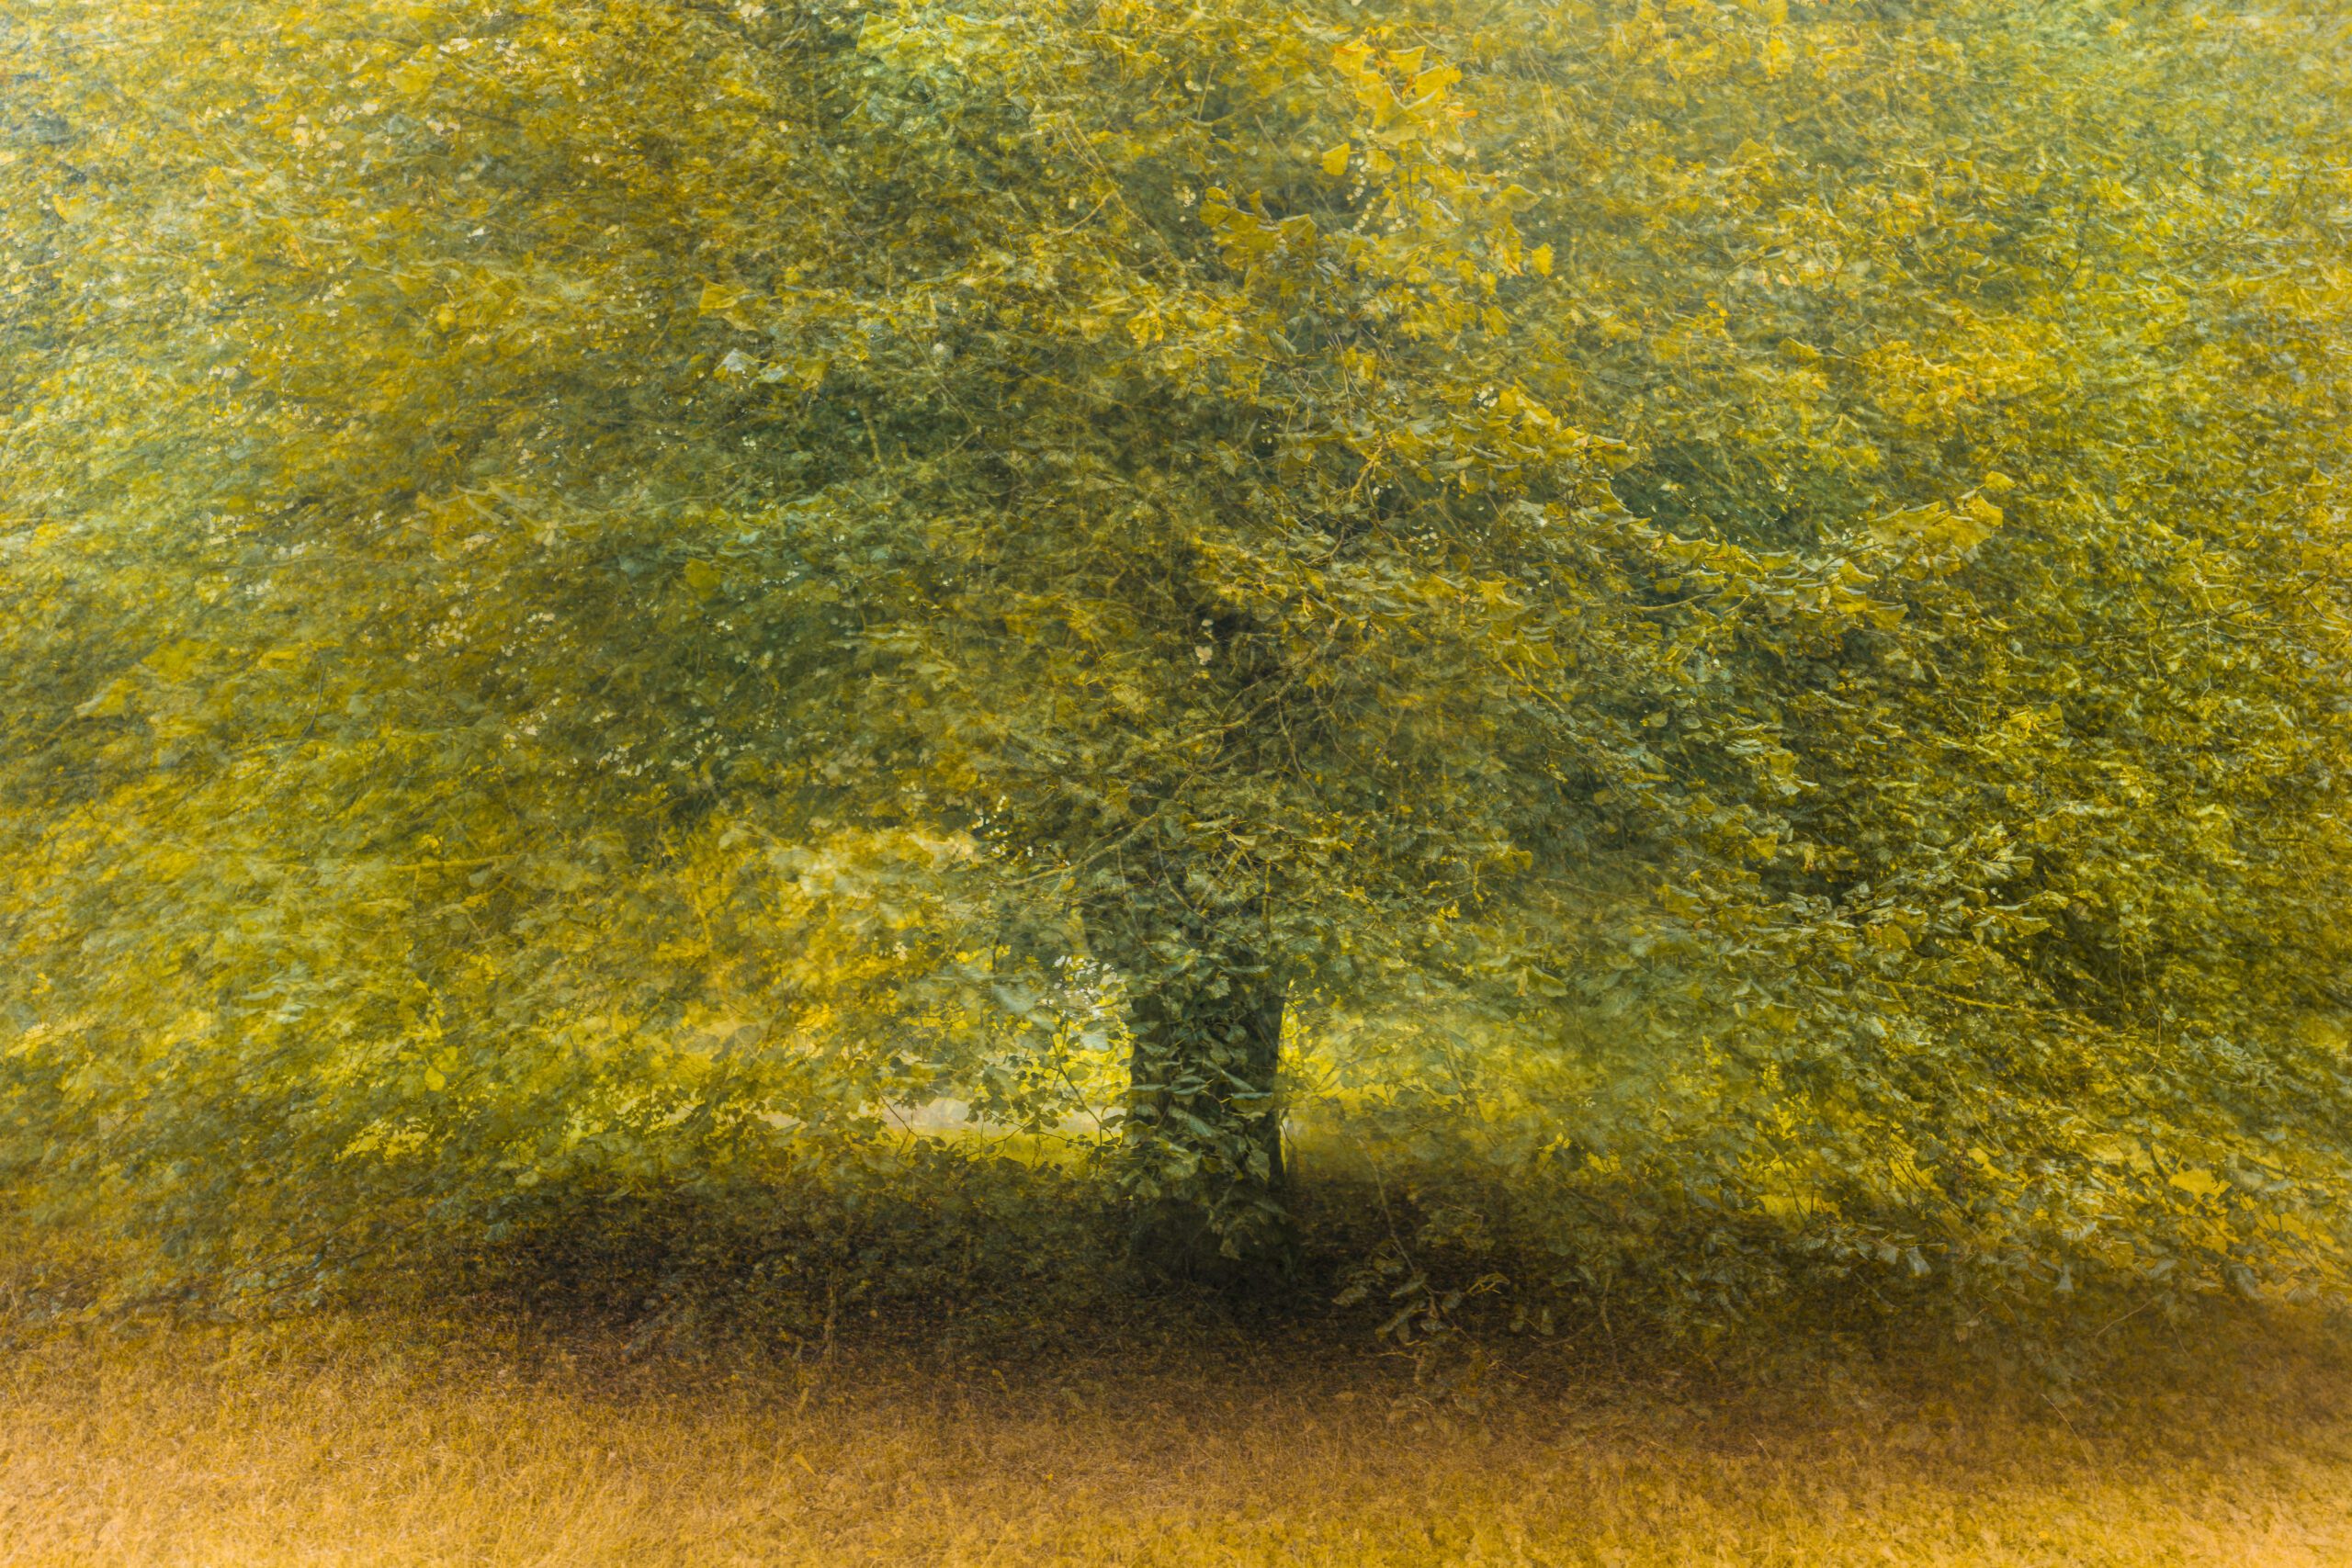
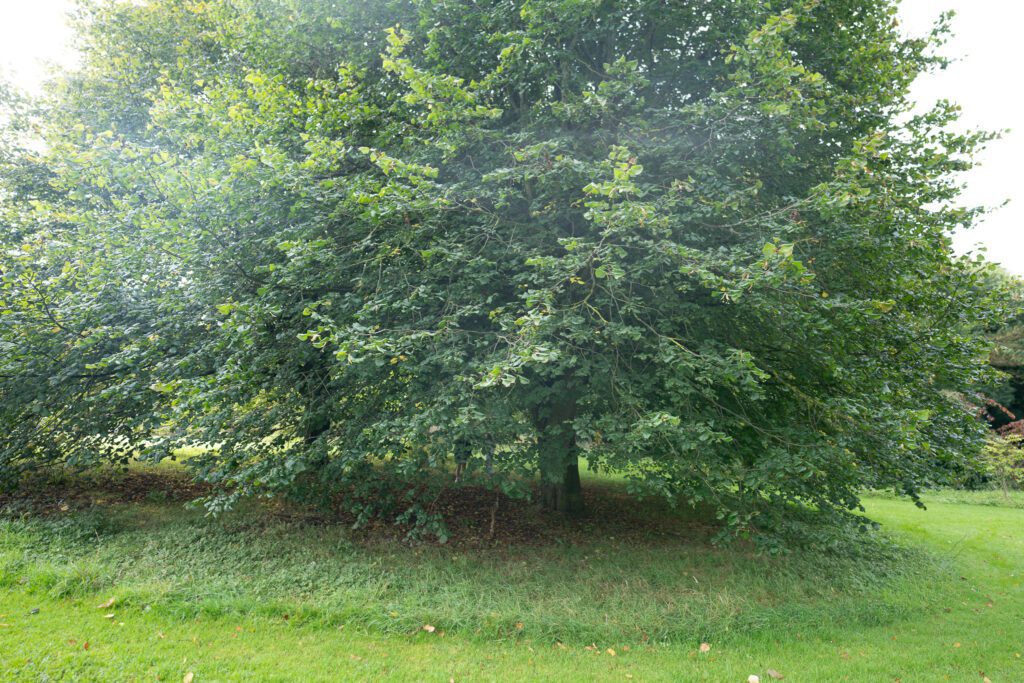
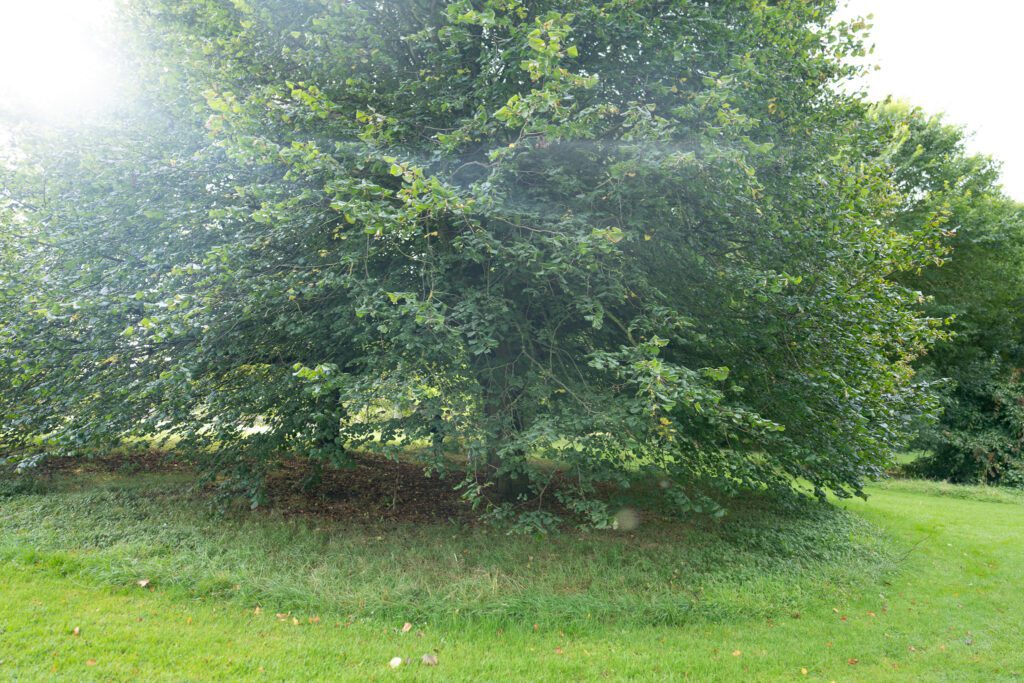
The first step in the Pep Ventosa technique is to select a subject that will work well when viewed from multiple angles. A tree, a statue, or a landmark building makes for excellent choices. At The Shot NI, we chose a beautiful oak tree in a park to demonstrate this effect.
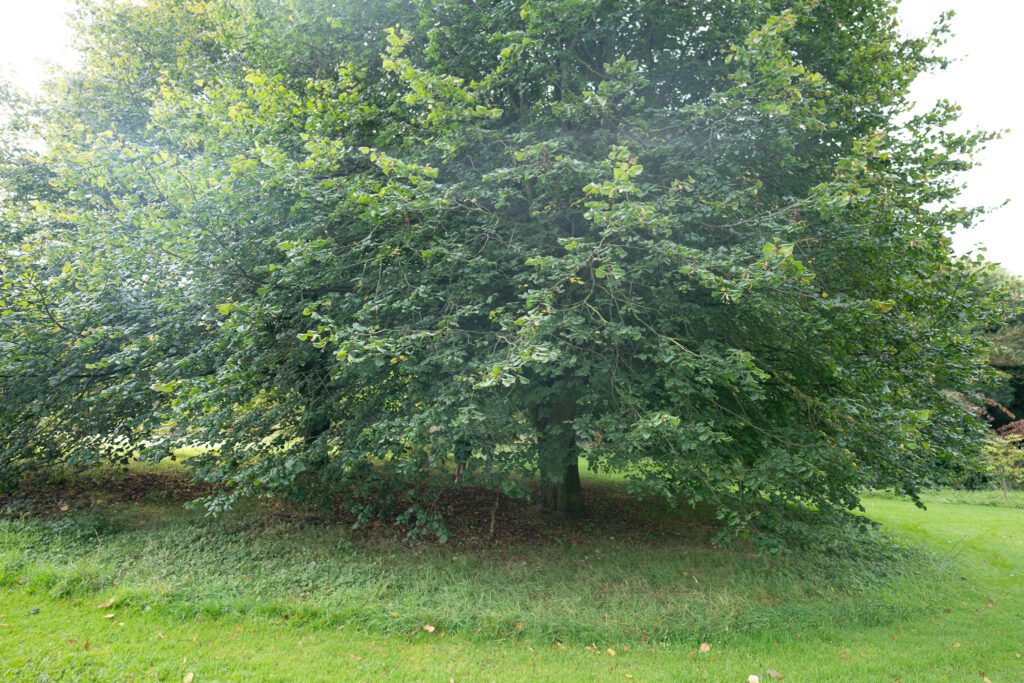
Pro Tip: Make sure the subject is isolated from the background as much as possible to maintain focus.
Take Multiple Shots Around the Subject
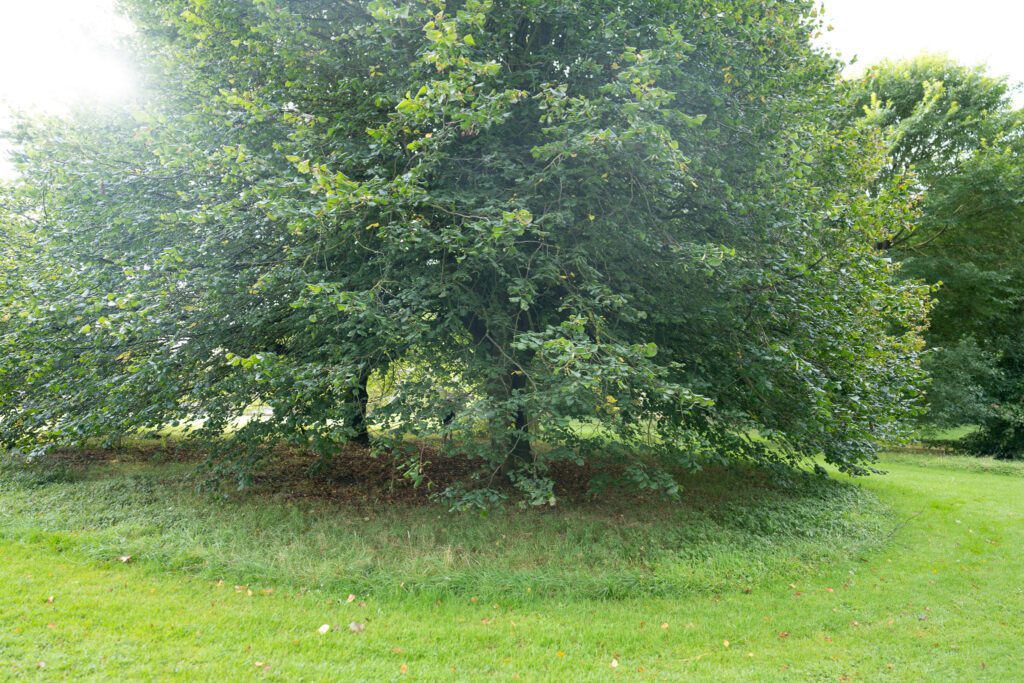
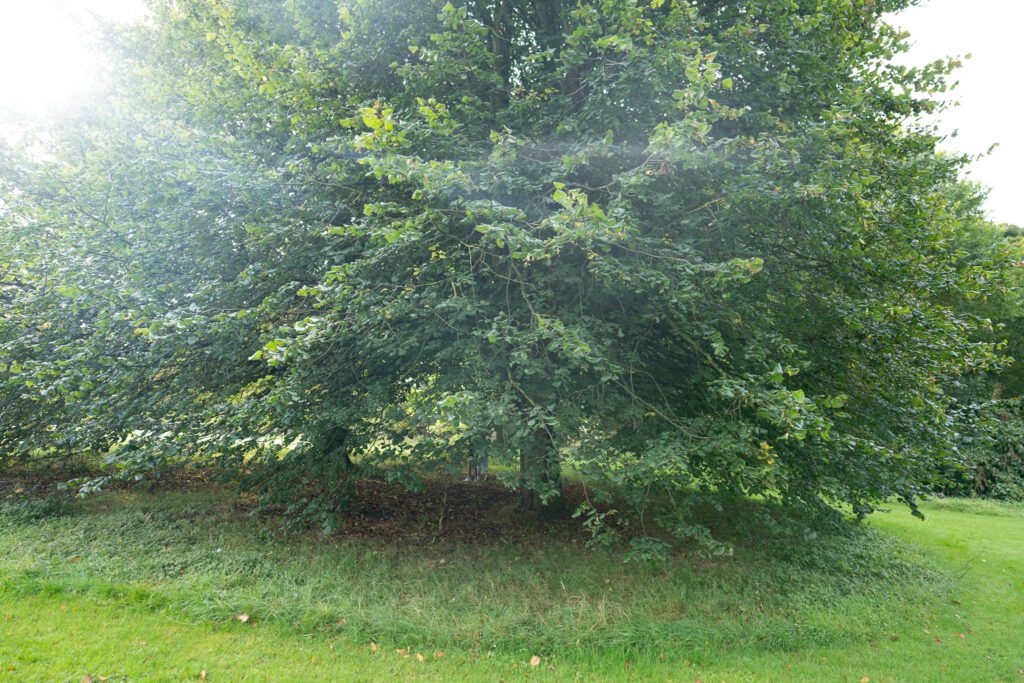
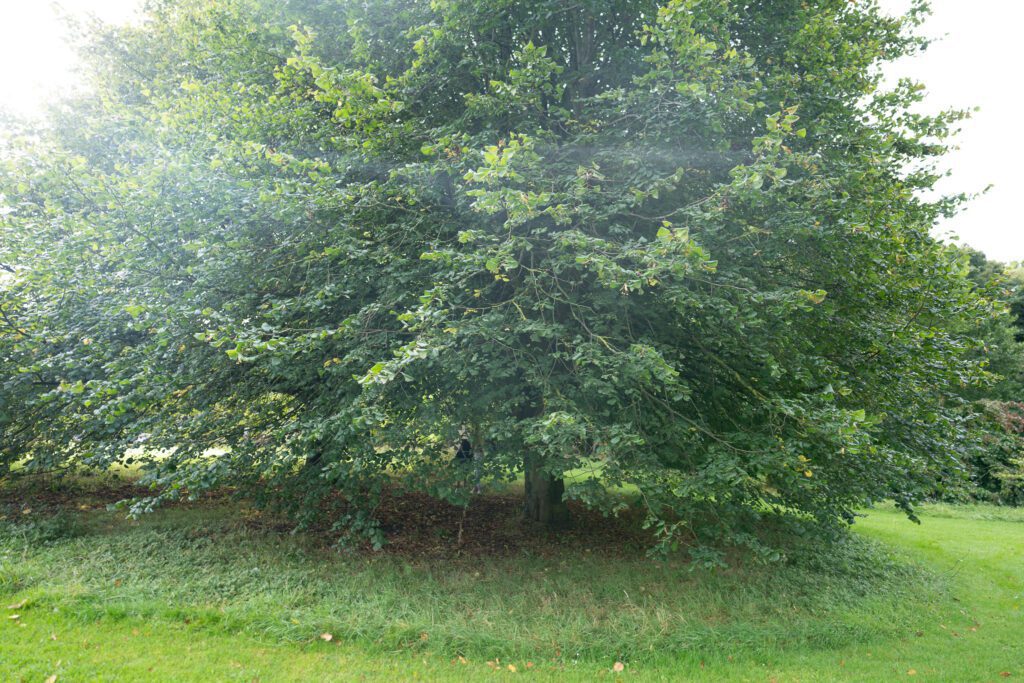
Now, it’s time to take several photos, moving around your subject as you do. The idea is to keep the subject (like the tree, for example) centered in your frame but from different perspectives.
- Take around 10-30 images, depending on how detailed you want your final composition to be.
- Keep your camera at the same height and distance as you move around the subject to maintain consistency.
We used a 50mm lens for the shots to maintain a natural perspective and consistent depth of field but you can use any focal lens you prefer.
Upload and Organise Your Photos
Once you have your shots, upload them to your editing software.We prefer Adobe Photoshop for this process, but you can use any editing program that allows you to work with layers and blend modes.
- Start by organizing your images into one folder so you can easily find and work with them.
Layer and Blend the Images
Now, here’s where the magic happens:
- Open all your images in Photoshop as separate layers.
- Align the images to ensure that the main subject stays as the focal point.
- For blending, you can use the ‘Lighten’ blend mode to start. This mode lets the brightest parts of each layer shine through, which is perfect for a tree or building where the sky remains bright.
At The Shot NI, we took extra care with alignment, ensuring the trunk of the tree remained consistent across the layers.
Fine-Tune and Add Effects
Once you’ve stacked and blended the images, it’s time to adjust the final look. You can fine-tune the image by adjusting:
- Opacity: Control how much of each layer shows through.
- Masking: Add masks to fine-tune specific areas of the image if certain parts are too harsh or distracting.
- Colour Adjustments: Play around with the hues, saturation, and contrast to give your image the soft, painterly effect.
We love adding a slight Gaussian blur to soften the edges and give the image an even more ethereal quality.
Save and Share
Once you’re happy with your final image, save your file in both a high-resolution format (for printing) and a web-friendly format (for sharing online).
We always encourage our clients and followers to share their final results with us on social media. Use #TheShotNI so we can see what you’ve created!
